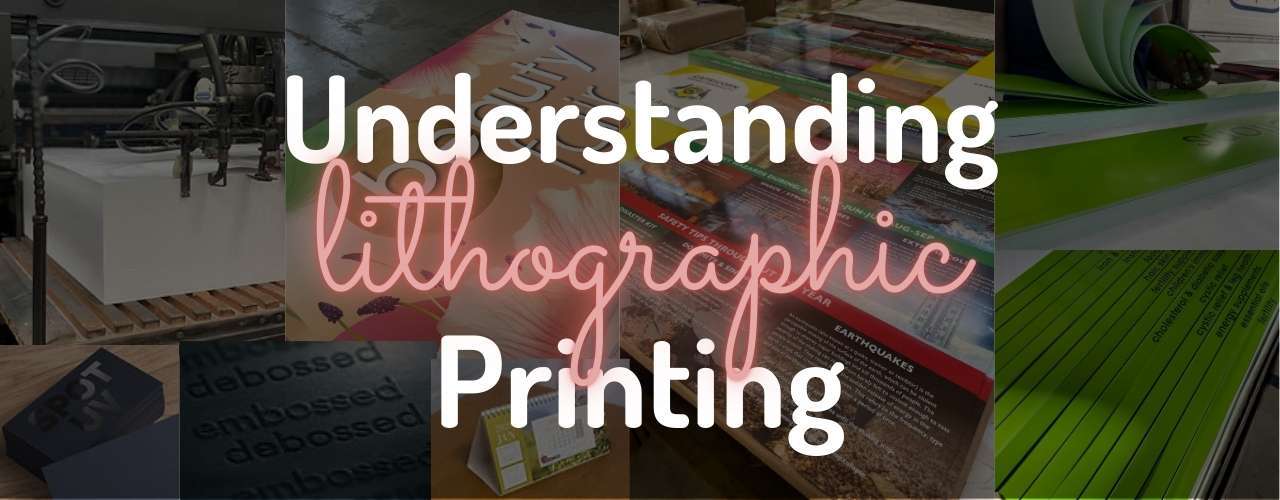
Lithographic printing, often referred to as “offset printing,” is a widely used printing technique that has been fundamental in the production of high-quality printed materials for over a century. This article will delve into the details of how lithographic printing works, the considerations for artwork design, the impact on the final print, essential knowledge for customers, and general tips to ensure the best results.
How Lithographic Printing Works
Lithographic printing is based on the principle of oil and water repelling each other. This method involves transferring an image from a flat plate (often made of aluminum) to a rubber blanket, and then onto the printing surface, usually paper. The process is divided into several key steps:
1. Preparation of the Printing Plate:
The image to be printed is laser-etched or chemically processed onto the printing plate. The plate is treated so that the image areas attract ink (oil-based), while the non-image areas attract water, preventing ink from adhering to those areas.
2. Inking the Plate:
The plate is first dampened with water, which adheres only to the non-image areas. Then, oil-based ink is applied, which sticks only to the image areas.
3. Transfer to the Rubber Blanket:
The inked image is transferred from the plate to a rubber blanket cylinder. This is essential because the blanket is flexible, allowing it to press onto a variety of surfaces.
4. Printing on the Substrate:
The image on the rubber blanket is then transferred to the paper or another substrate. This indirect transfer method helps produce a clean, sharp image and extends the life of the printing plates.
5. Drying and Finishing:
After printing, the ink needs to dry, either through air drying or using specialized equipment. The drying process ensures that the ink is firmly set on the substrate.
Artwork Design Considerations for Lithographic Printing
Designing artwork for lithographic printing requires specific considerations to ensure the final print is of the highest quality. Here are some key factors:
1. Color Mode (CMYK):
Lithographic printing uses the CMYK color model (Cyan, Magenta, Yellow, Black). Designers should create their artwork in CMYK mode rather than RGB to avoid color discrepancies.
2. Resolution:
The standard resolution for lithographic printing is 300 dpi (dots per inch). Lower resolutions can result in blurry or pixelated images.
3. Bleed and Crop Marks:
A bleed of 3-5mm should be added to the edges of your artwork to account for slight variations in the cutting process. Crop marks should also be included to guide where the paper should be trimmed.

We always ask for a 5mm bleed on all items to be printed.
4. Fonts and Text:
Ensure that fonts are embedded or outlined to prevent issues with missing fonts during the printing process. Avoid using fonts smaller than 6pt, as they may not print clearly.
5. Spot Colors:
If your design includes specific colors that need to be exact, consider using spot colors (Pantone). Spot colors can be used in addition to or instead of CMYK to ensure color accuracy.
6. Overprint and Knockout:
Understand the concepts of overprint (where colors are printed on top of each other) and knockout (where one color is removed to avoid overlap). Mismanagement of these can lead to unintended color changes.

We always communicate when we think a design may not be suited to the final look you are going for!
How Lithographic Printing Can Affect the Final Print
The lithographic process can influence the final print in several ways:
1. Colour Accuracy:
While lithographic printing can achieve excellent colour reproduction, slight variations can occur between print runs. To minimize this, use colour profiles and proofs.

We ensure our prints are measured using a specialised colour device. This ensures colour accuracy as far as possible. Jobs are also sorted before packaging to ensure any spoils are removed.
2. Paper Choices:
The choice of paper (coated vs. uncoated, thickness, finish) can significantly affect the print. Coated paper produces sharper images, while uncoated paper can give a more natural look.

We generally recommend which paper would work better with the print – especially if you are wanting to print something with full ink coverage on a thinner sheet, as this isn’t recommended.
3. Ink Absorption:
Different papers absorb ink differently, which can affect the vibrancy of colors. Coated papers absorb less ink, resulting in more vivid colors, while uncoated papers absorb more ink, leading to softer tones.
4. Registration:
Registration refers to the alignment of the different color plates. Misregistration can cause colors to look off or slightly out of place, which is more noticeable in designs with fine lines or detailed images.
Things to Know as a Customer
As a customer, understanding the lithographic printing process can help you make informed decisions and communicate more effectively with your printer:
1. Proofing:
Always request a proof before the full print run. This allows you to catch any errors and make adjustments to colors, text, or layout.

Low Resolution proofs are given freely, while high resolution proofs are charged for! We cannot do a litho proof due to plates being made, this would mean that you would have to be charged the price of a full print if artwork will be changed.
2. Turnaround Time:
Lithographic printing can take longer than digital printing due to the setup time required for creating plates and aligning the press. Plan your projects with this in mind.

Always ask how long a printing project will take – sometimes we are busier and it may be slightly delayed. If it is a priority, we ensure to have it delivered by your required date!
3. Cost Considerations:
While lithographic printing can be more cost-effective for large print runs, it may not be as economical for smaller quantities. Be sure to discuss the best options for your needs with your printer.
4. Environmental Impact:
Many printers offer eco-friendly options such as recycled paper and vegetable-based inks. If sustainability is important to you, inquire about these alternatives.
General Tips for Successful Lithographic Printing
1. Communicate Clearly with Your Printer:
Ensure your printer understands your vision, preferences, and any specific requirements. Provide clear instructions and ask for feedback.
2. Understand the Limitations:
While lithographic printing is versatile, it’s not ideal for every project. For example, if you need a quick turnaround or a small quantity, digital printing might be better suited.
3. Review File Specifications:
Double-check that your files meet the printer’s specifications regarding color mode, resolution, file format (usually PDF), and any other requirements.

We always ask for artwork in a PDF format that has a 5mm bleed and crop marks.
4. Be Mindful of the Bleed:
Always include a bleed in your design to prevent white edges after trimming. This ensures that your design extends fully to the edge of the printed piece.

We always ask for a 5mm bleed on all items to be printed.
5. Consider Finishing Options:
Explore finishing options such as varnishing, lamination, or embossing to enhance the final product. These can add a professional touch and improve durability. Read here on some of the types of finishing.
Conclusion
Lithographic printing is a sophisticated process that offers high-quality results, especially for large print runs. By understanding how the process works, what to consider when designing artwork, and how various factors can affect the final print, you can ensure that your projects turn out as intended. Whether you’re a designer or a customer, being informed about lithographic printing will help you achieve the best possible results with your printed materials.


Leave a Reply